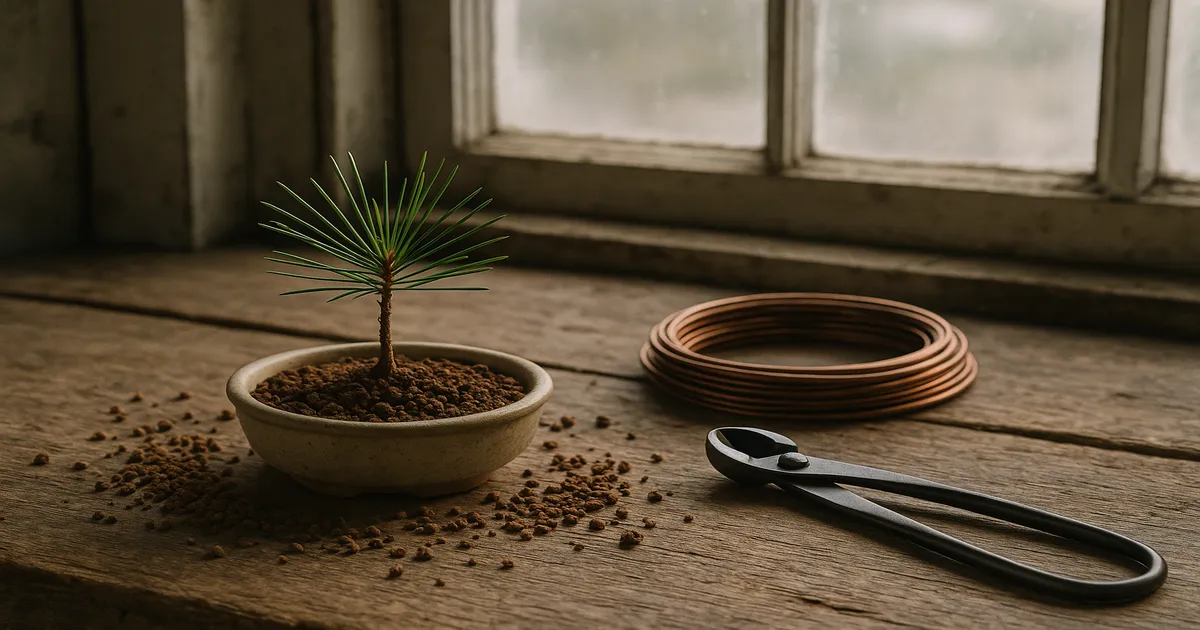
Quick Answer: To grow black pine bonsai from seed, sow cold-stratified Pinus thunbergii seeds in a well-draining akadama/pumice mix inoculated with mycorrhizal fungi, then grow the tree outdoors in full sun. Allow at least three years of free growth before applying decandling and needle-pulling techniques. Expect 5–10 years before you have a presentable bonsai — this is a long-term commitment, and one of the most rewarding in the hobby.
Learning how to grow black pine bonsai from seed puts you in control of every stage of development — from the first tiny seedling to a tree with dramatic, furrowed bark and perfectly ramified pads. It’s not a fast process, but Japanese Black Pine (Pinus thunbergii) rewards patience like few other species can.
Japanese Black Pine: Species Overview
Origin and Natural Habitat
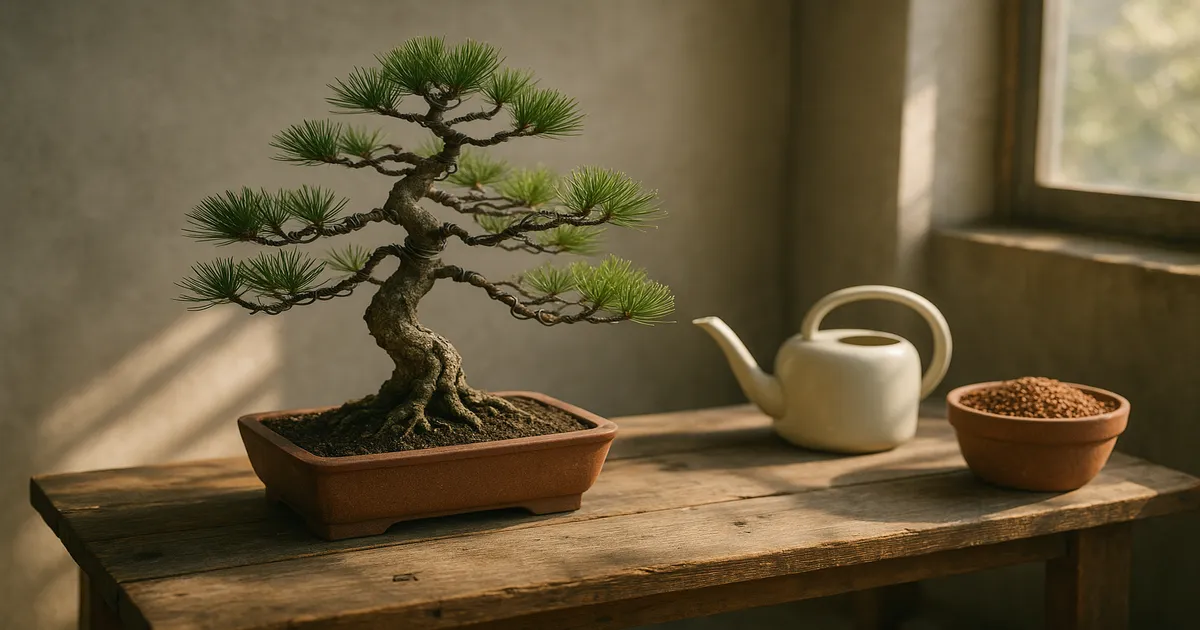
Pinus thunbergii, known in Japan as Kuro-matsu (黒松), is native to the coastal regions of Japan and South Korea. In the wild it clings to rocky cliffs, sandy shorelines, and wind-battered hillsides — places with outstanding drainage, strong sun, and salt-laden air. That origin story tells you almost everything you need to know about how to grow it.
Why Black Pine Makes an Exceptional Bonsai Subject
Few conifers match what black pine offers the bonsai artist. Its bark develops into striking gray-to-black plates and furrows with age, giving even modest-sized trees an ancient look. The dark, stiff needles — naturally 3–5 inches long — can be reduced to 1–2 inches through consistent technique. Most importantly, the species produces two annual growth flushes, which skilled growers exploit to build dense, refined branch structure year after year. Well-maintained trees can live for centuries.
Best Varieties for Seed-Grown Bonsai
Named cultivars like ‘Kotobuki’, ‘Thunderhead’, and ‘Yatsubusa’ are propagated vegetatively, not from seed. For seed-grown bonsai you work with standard species seedlings — which is actually an advantage. Genetic variability lets you select the most promising individuals from your batch. In colder climates (USDA Zones 4–5), Pinus nigra (European Black Pine) is an excellent substitute with nearly identical technique requirements.
How to Grow Black Pine Bonsai from Seed: Germination
Sourcing and Preparing Seeds
Buy seeds from reputable bonsai suppliers or collect them from mature cones in autumn. Fresh seed germinates most reliably — store unused seed in a sealed bag in the refrigerator. Before sowing, soak seeds in room-temperature water for 24 hours to soften the seed coat.
Does Black Pine Need Cold Stratification?
Pinus thunbergii seeds will often germinate without stratification, but a 4-week cold-moist period at 35–40°F (2–4°C) — seeds wrapped in damp paper towels inside a sealed bag in the fridge — noticeably improves germination rates and uniformity. It’s a small step worth doing, especially when working with a limited seed supply.
Sowing Method and Germination Conditions
Sow seeds at a depth of one to two times their diameter in a fine-particle germination mix. A reliable starting blend is equal parts akadama, pumice, and coarse perlite at a particle size of 1/16–1/8 inch (1.5–3 mm). Maintain soil temperature between 65–75°F (18–24°C) and keep the medium consistently moist but never waterlogged. Germination typically occurs within 2–4 weeks.
Inoculating with Mycorrhizal Fungi from Day One
This step is non-negotiable. Pinus thunbergii forms obligate ectomycorrhizal relationships — without fungal partners, trees struggle regardless of how good your other care is. Mix a mycorrhizal inoculant containing Pisolithus tinctorius or Rhizopogon spp. into your germination medium before sowing. (MycoApply Ecto) Avoid all fungicides in the soil or on seedling roots. Healthy white, cottony threads among the roots at repotting time are a sign the relationship is working.
Seedling Care in the First Growing Season
Once seedlings emerge, move them to a bright outdoor location. Shield them with 50% shade cloth during peak summer heat — particularly in climates that regularly push above 95°F (35°C) — then gradually reduce shade as the season progresses to harden the plants. Water carefully; seedlings are far more vulnerable to both drying out and drowning than established trees.
Light, Temperature, and Outdoor Placement
Why Black Pine Must Be Grown Outdoors
Black pine is strictly an outdoor bonsai. Indoor cultivation leads to progressive decline within one to three years — light intensity is too low, proper dormancy cannot occur, and air circulation is poor. A day or two indoors for display is fine; anything longer shortens the tree’s life.
Sunlight and Temperature Requirements
Aim for 8–10 hours of direct sun daily during the growing season; six hours is the practical minimum. Low light produces weak, elongated candles and pale needles — the opposite of what you want. In climates that regularly exceed 95°F (35°C), morning sun with some afternoon shade prevents needle scorch without sacrificing vigor.
Pinus thunbergii thrives in USDA Zones 5b–10; P. nigra extends that range to Zone 4b. The ideal growing-season temperature is 65–85°F (18–29°C). Container roots are more vulnerable to cold than in-ground roots — temperatures below 15°F (–9°C) can cause root damage in pots.
Winter Dormancy and Cold Protection
Black pine requires 8–12 weeks of cold dormancy at 25–45°F (–4 to 7°C). This is not optional. In Zones 7–10, a sheltered outdoor spot or unheated cold frame is usually sufficient. In Zones 5–6, move trees to an unheated garage or shed when temperatures consistently drop below 25°F (–4°C). Mulching the pot or sinking it into the ground adds root protection in borderline zones. Never bring a dormant tree into a heated space — breaking dormancy early weakens the tree significantly.
Soil Mix and Watering
The Ideal Soil Mix for Black Pine Bonsai
The guiding principle is exceptional drainage. The standard mix is 40% akadama, 40% pumice, 20% lava rock at a particle size of 1/8–1/4 inch (3–6 mm). Akadama holds just enough moisture and breaks down over time to signal when repotting is due. Pumice and lava rock keep the mix open and airy. Avoid standard potting soil or peat-heavy mixes entirely — they stay wet too long and suppress mycorrhizal fungi.
For seedlings in years 1–3, a slightly richer mix supports faster early growth: 30% akadama, 30% pumice, 20% lava rock, 20% decomposed granite or coarse perlite, using finer particles (1/16–1/8 inch / 1.5–3 mm). As the tree matures, shift toward the coarser standard mix to prioritize drainage. Target a soil pH of 5.5–6.5 throughout.
Watering Frequency and Technique
During the growing season, water thoroughly when the top 1/4–1/2 inch (6–12 mm) of soil begins to dry — this may mean daily or even twice daily in summer heat. Always water until it flows freely from the drainage holes, and never leave the pot sitting in standing water. In winter dormancy, reduce watering to every 7–14 days; the soil should stay slightly moist but never waterlogged. Rainwater is ideal; if using tap water, let it sit 24 hours to off-gas chlorine.
Overwatering signs: needles yellowing from the base of the fascicles; soil still wet 48+ hours after watering; soft, dark roots; algae or mold on the soil surface.
Underwatering signs: needles turning gray-green then brown from the tip inward; brittle needles; soil pulling away from pot edges; candles wilting or failing to extend.
Pruning, Shaping, and the Two-Flush Growth Cycle
Years 1–3: The Sacrifice Growth Phase
Resist the urge to style your seedling early. For the first three years, let the tree grow freely — unpruned, in a large container or training box. This builds trunk girth and root mass. Trunk thickness developed during these early years cannot be recovered later.
Understanding the Two-Flush Cycle
Black pine naturally produces one flush of growth in spring. Under bonsai management, the decandling technique tricks the tree into producing a second, finer flush in late summer. This two-flush cycle is the engine that drives rapid refinement.
Decandling
Decandling is performed in late June to mid-July. Using clean scissors, cut all spring candles at their base. The tree responds by pushing secondary buds that develop into shorter shoots with reduced internodes and smaller needles. Done consistently over several years, the ramification becomes extraordinary. Only decandle healthy, vigorous trees — never one that is stressed, recently repotted, or showing signs of weakness.
Needle Pulling for Balanced Energy Distribution
In autumn (September–November), remove the previous year’s needles by hand. The number of needle pairs you leave depends on branch strength:
- Strong branches: Leave 6–10 pairs per shoot
- Weak branches: Leave 10–15 pairs (more needles = more energy = stronger growth next season)
This deliberate imbalance equalizes vigor across the whole tree over time, preventing strong branches from dominating and weak ones from dying back.
Structural Pruning and Branch Selection
Select primary branches that emerge from the trunk at 45–90°. Remove crossing branches, parallel branches at the same height, and anything growing directly toward the viewer. Use sacrifice branches — deliberately unpruned for one or two seasons — to thicken specific trunk sections and build taper. Make structural cuts in late autumn to minimize sap loss and allow wounds to callus before spring. Treat any cut over 1/4 inch (6 mm) in diameter with cut paste.
Wiring Black Pine Branches
Wire Gauge, Material, and Timing
Wire diameter should be approximately 1/3 the branch diameter. Practical gauges for black pine:
- 1.0–1.5 mm aluminum: Fine secondary and tertiary branches
- 2.0–3.0 mm aluminum: Primary branches and medium secondary branches
- 3.5–5.0 mm aluminum: Young trunks and heavy primary branches
Copper wire holds better and is preferred by experienced growers, but aluminum is more forgiving for beginners. Wire in late autumn to early winter — branches are slightly more flexible, growth has hardened, and you can set the wire before the spring surge begins. Avoid wiring during active candle extension or immediately after repotting.
Application and Removal
Always wire two branches of similar thickness with one piece of wire to anchor it and prevent slippage. Wrap at a consistent 45° angle, working from the trunk outward. The tension should hold position without immediately biting into bark. Check wire every 3–4 weeks during the growing season — black pine can grow fast enough to have wire cutting in within two or three weeks in spring. When removing, always cut at each loop with wire cutters; never unwind wire from a living branch.
Repotting: Timing and Technique
How Often to Repot
- Seedlings (years 1–3): Annually, to encourage root and trunk development
- Developing trees (years 4–10): Every 2–3 years, or when roots circle the pot base
- Mature bonsai: Every 3–5 years; very old specimens can go 5–7 years
The Optimal Repotting Window
Repot in early spring as buds begin to swell but before candles extend — typically February to March in Zone 6–7. Never repot during active candle extension, right after decandling, or during summer heat.
Root Pruning Without Harming Mycorrhizal Networks
Work old soil away from the root ball gently using a root hook or chopstick, moving from the outside inward. Retain 30–50% of the old soil mass to preserve the mycorrhizal network. Remove dead, circling, and downward-growing roots with sharp, clean shears. Limit total root mass reduction to no more than 30% per session on established trees. Spread the remaining roots evenly across the new pot and work fresh soil in around them.
Seedlings and developing trees belong in wooden training boxes or oversized nursery containers, not decorative bonsai pots. The extra root space translates directly into faster trunk development. Transition to a proper bonsai pot only once the tree has reached the development stage you’re satisfied with.
Troubleshooting Common Problems
Yellowing or Browning Needles
Natural needle drop in autumn — inner needles on older growth — is normal. Yellowing starting at the base of the fascicles points to overwatering or root rot. Browning from the needle tip inward suggests underwatering or drought stress. Uniform pale yellowing across the canopy often indicates nitrogen deficiency.
Weak or Elongated Candles
The two most common culprits are insufficient light and excessive nitrogen fertilization. Move the tree to a sunnier location first. If it’s already getting 8+ hours of sun, dial back nitrogen-heavy fertilizers and switch to a more balanced formula in late summer.
Root Rot Recovery
If you suspect root rot, act quickly. Remove the tree from its pot, wash away all old soil, trim soft or mushy roots, and repot into fresh, well-draining mix. Reduce watering during recovery, place the tree in a sheltered spot with good air circulation, and hold off on fertilizing until new growth confirms recovery.
Pest and Disease Issues
Common pests include pine needle scale, spider mites, and aphids on new growth. For scale, horticultural oil works well; for mites and aphids, insecticidal soap or neem oil. Fungal diseases like Diplodia tip blight and Dothistroma needle blight appear as browning shoot tips or banded needle discoloration — treat with a copper-based fungicide, but avoid systemic fungicides that harm mycorrhizae.
Tree Failing to Thrive Despite Good Care
The hidden cause is often absent or damaged mycorrhizal networks — typically the result of aggressive repotting without retaining old soil, or after fungicide use. Re-inoculate with a quality mycorrhizal product at the next repotting and avoid anything that disrupts fungal activity in the soil.
Frequently Asked Questions
How long does it take to grow a black pine bonsai from seed?
Realistically, expect 5–10 years before you have a bonsai that looks presentable. The first three years are purely about building trunk girth and root mass through free growth. Refinement through decandling and needle-pulling begins after that, and the results compound beautifully over time — but there are no shortcuts.
Do black pine bonsai seeds need cold stratification?
Technically no — Pinus thunbergii seeds can germinate without stratification. But a 4-week cold-moist period at 35–40°F (2–4°C) improves both germination rates and uniformity. It’s a low-effort step worth doing, especially if you’re working with a limited seed supply.
Can you grow Japanese black pine bonsai indoors?
No. Black pine requires outdoor conditions year-round — high light intensity, seasonal temperature swings, and a genuine winter dormancy period. Indoor cultivation causes progressive decline within one to three years. If you want a conifer that tolerates lower light, consider Juniperus chinensis instead.
When should I start shaping my black pine seedling?
Wait until after the third growing season at the earliest. The priority in years 1–3 is free, unrestricted growth to build trunk girth and a strong root system. Styling a thin, weak seedling produces a thin, weak bonsai. Patience here pays off in every year that follows.
What fertilizer should I use for black pine bonsai?
Use a balanced, slow-release organic fertilizer through spring and early summer — something close to a 6-6-6 or 5-5-5 NPK ratio works well. Switch to a low-nitrogen, high-phosphorus formula (such as 0-10-10) from late summer through autumn to harden growth and support root development before dormancy. Avoid high-nitrogen feeds after midsummer — they produce soft, elongated growth that weakens the tree heading into winter.